- HandmadeCardsbyKim
- Card Making Ideas
- 3D Effect
Card Making Ideas - Add a 3D Look to Your Printable Cards
One of the card making ideas that can really make your cards stand out from the crowd is to add a 3D look. This is easy and the results are exciting.
Let's see how it's done.....
Click on any image to make it larger.
Click again to return to this page.
Note: My choices of right to left are
dictated by my being left handed, I've learned the hard way, ruining many
paintings by dragging my hand across wet paint. If you're right handed, try
reversing the directions if it makes it easier.
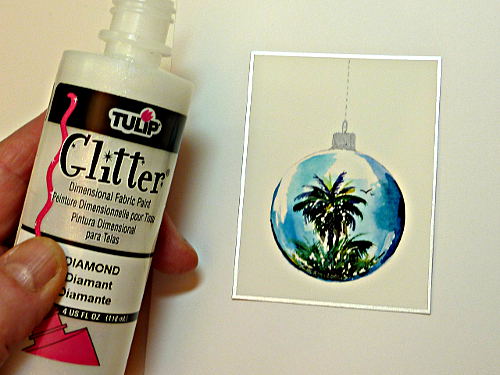
1. Like applying glass effects, I use the Diamond Glitter, but this image requires curved lines. You'll remember from the glass effects lesson that the Diamond Glitter goes on looking opaque white but dries with a hologram look.
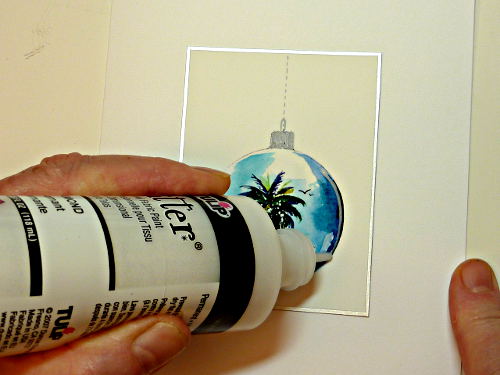
2. I start by following the curve on the right edge of the ornament. Stay inside the edge.
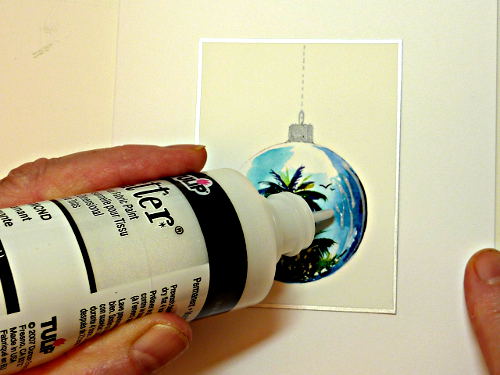
3. Place a few more strokes following the curve, two or three is enough. Make them shorter as you move away from the edge, this what creates the 3D effect.
4. Now move to the left side of the ornament and make the same strokes but just a bit shorter. This completes the 3D effect.
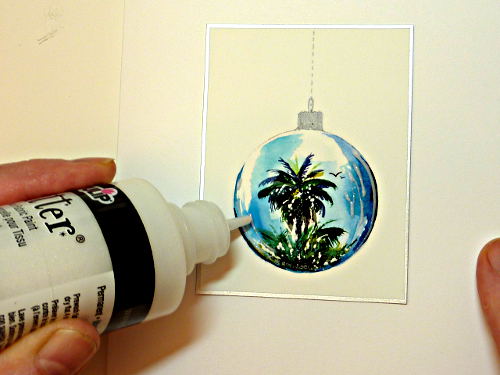
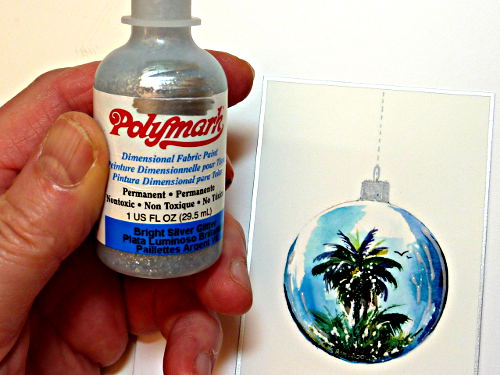
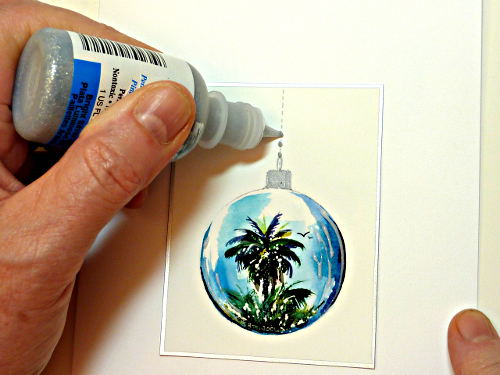
5. Putting the ornament on a silver chain calls for Bright Silver Glitter Dimensional Fabric Paint.
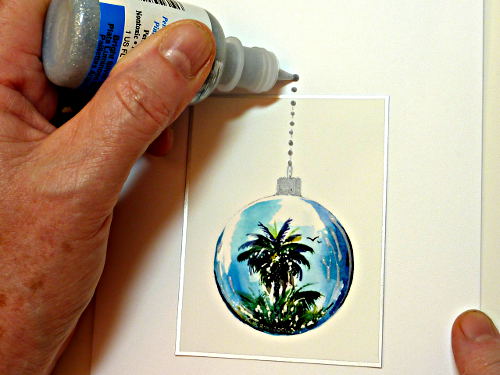
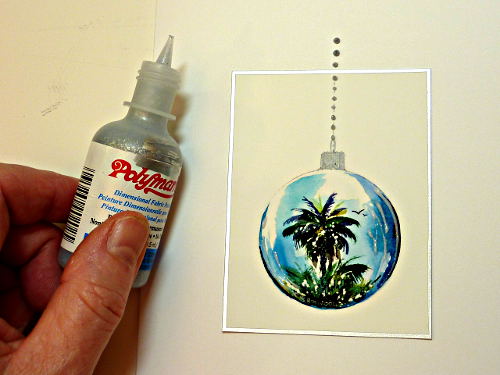
6. Dot the paint up the image and out onto the card in a straight line.
7. Put the card aside to dry for at least 24 hours.
Wasn't that easy? Look at how you've made a simple painting into an exciting three dimensional object!
Click lower right corner of video for full screen view
