- HandmadeCardsbyKim
- Printing Options
- ClassyCard
The ClassyCard™ Handmade Greeting Cards Are a Cut Above the Rest
|
The ClassyCard™ handmade greeting cards are just different enough from other "run of the mill" printed cards that they get your attention. That's right, it's no longer just a printed card, it's a hand made greeting card and it shows how much you care. Just follow these simple steps to make that special handmade greeting card..... |
Downloading
1. Select the card that you want to print.
2. Click on the ClassyCard™ link under the image.
3. The high resolution image will open in a new window.
4. Right click on the image and select the "Save As" option.
5. Save the image to a folder that you'll remember. Suggestion.....create a new folder called "ClassyCards".
Printing
Very Important! These images are sized to reproduce exactly what I sell. Specifically, Portrait 525 pixels (3.5 inches) high, Landscape 375 pixels (2.5 inches) high.
If you chose to resize, you will not get the same high quality print.
At this point, there will be many options for printing, depending on your own software. If you use Corel PaintShop Photo Pro, Adobe Photoshop, Gimp or some other top of the line graphics program, I'm sure that you'll already know that you have the ability to place the image anywhere you want on the page.
Even if you've got one of these programs, you might find one of the following approaches more attractive.....
Picasa (Click here for free download for PC)
(Click here for free download for Mac)
1. Start Picasa.
2. Click on the folder that contains the image.
3. Double click on the image. It will open in its own page.
4. Click on File.
5. Select print.
6. Click on Wallet in the Print Layout box. This is the correct size for printing. If you click on any of the other sizes, you'll see the "Review" button at the bottom right of the page now has an orange border and a warning sign.
If you click on the 3.5 x 5 size, it's called "Good quality", the rest are called "Bad quality".
You only want to print when the "Review" button has no warning!
7. If you have more than one printer, click on the Printer button and select the printer you want to use.
8. Click on the Printer Setup button and make sure that all the settings are correct for the best quality and the correct paper type.
9. Choose the number of copies that you want to print by pressing the plus or minus button under "Copies per Photo".
10. Print.
Windows
Windows operating systems come with photo viewing and printing capabilities and Windows Live has Windows Live Photo Gallery which is a free download.
These programs don't have the powerful editing tools that Picasa has but I'm bringing them to your attention because they arrange the wallet sized images starting at the top of the page. This means that you can print three and salvage the remaining two thirds of your page.
I would not recommend using the last third of the page if you only print three images the next time. The remaining narrow strip will almost certainly jam your printer and could damage the print head.
1. Start your Windows Photo program.
2. Click on the folder that contains the image.
3. Double click on the image. It will open in its own page.
4. Click on Print to open the drop down menu.
5. Select Print
6. If you have more than one printer, click on the Printer button and select the printer you want to use.
7. Click on the Paper size button and select Letter size from the drop down menu.
8. Click on the Quality button and select Custom.
9. Click on the Options link (bottom right).
10. Click on Printer Properties in the Print Settings box and make sure that all the settings are correct for the best quality and the correct paper type.
11. The Paper type button should now read correctly.
12. Click on Wallet.
13. Select how many copies of each image you want.
14. Important. Uncheck Fit picture to frame
15. Print.
Mounting
This is where you change your greeting cards from plain printable cards into handmade greeting cards.
1. Carefully cut out your printed image, preferably using a paper cutter but if you don't have one, use a utility knife with a sharp blade and a metal straight edge. Tip: cut a little into the gold or silver border so there won't be any white showing.
Note: Click on any image to see larger size.
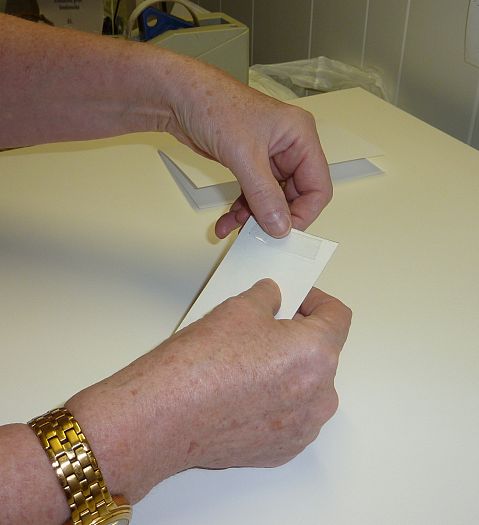
2. Turn over the image and put two strips of double stick tape on the back, one on the top and one on the bottom. Take care to run the tape out close to the edges. If the tape is a little long, just carefully trim it with scissors.
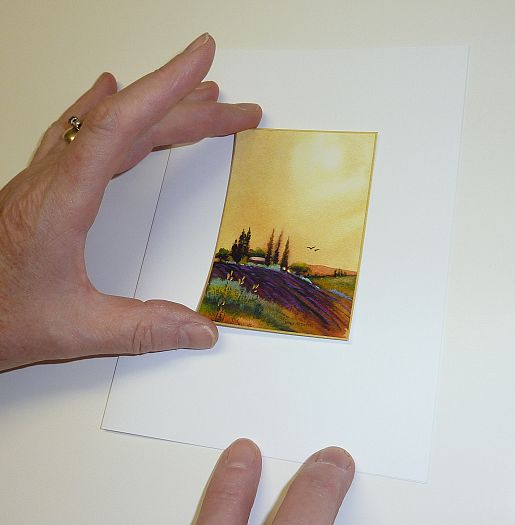
3. Take a folded 5" x 7" card and approximately center the image without pressing down on the tape.
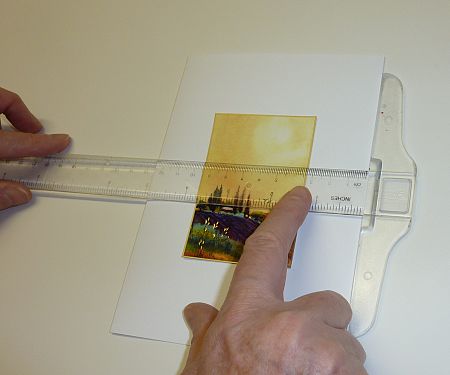
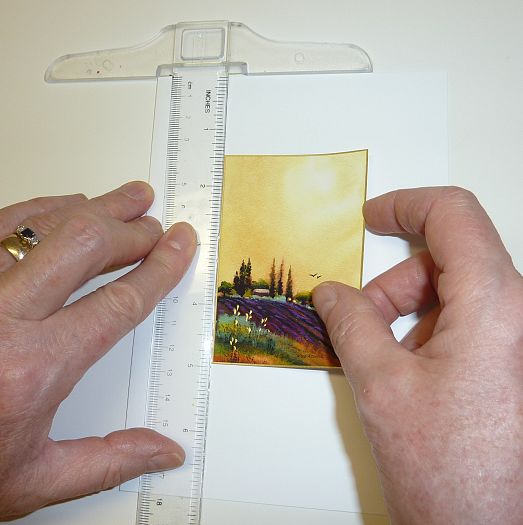
4. Using a T-square, I like a clear plastic one, center the image from side to side on the card.
5. While still holding the image in its side to side positioning, turn your T-square along one of the vertical sides of the image and position the image vertically. Put it approximately 1.5 inches from the top of the card. The measurement isn't critical, it just looks better if it's a little higher than center.
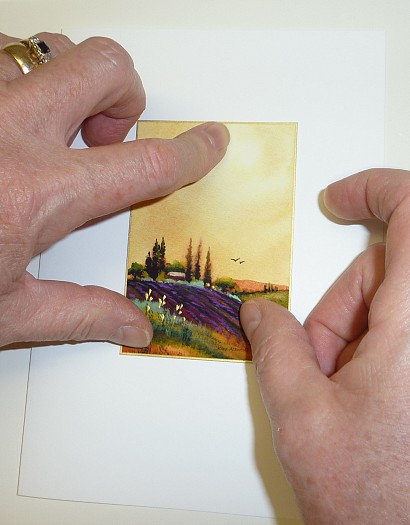
6. When you're happy with the position of the image, gently press down on the taped areas.
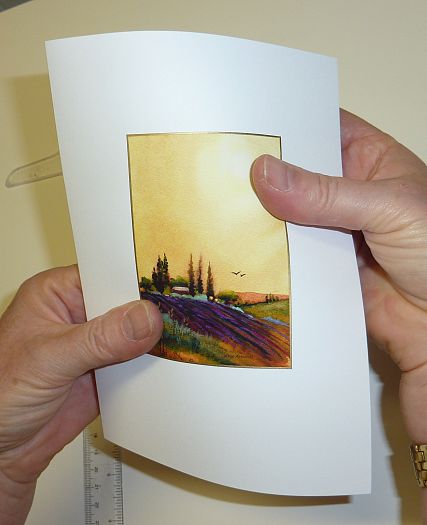
7. The final step in finishing your card is to twist it as shown below.
Although there appears to be many steps, this is a very simple process to make beautiful handmade greeting cards quickly and without any special skills. When you have done a few of these the process will become automatic.
If you're ready for more fun making handmade greeting cards, click the link below to check out the UniqueCard™. You'll never look back!
